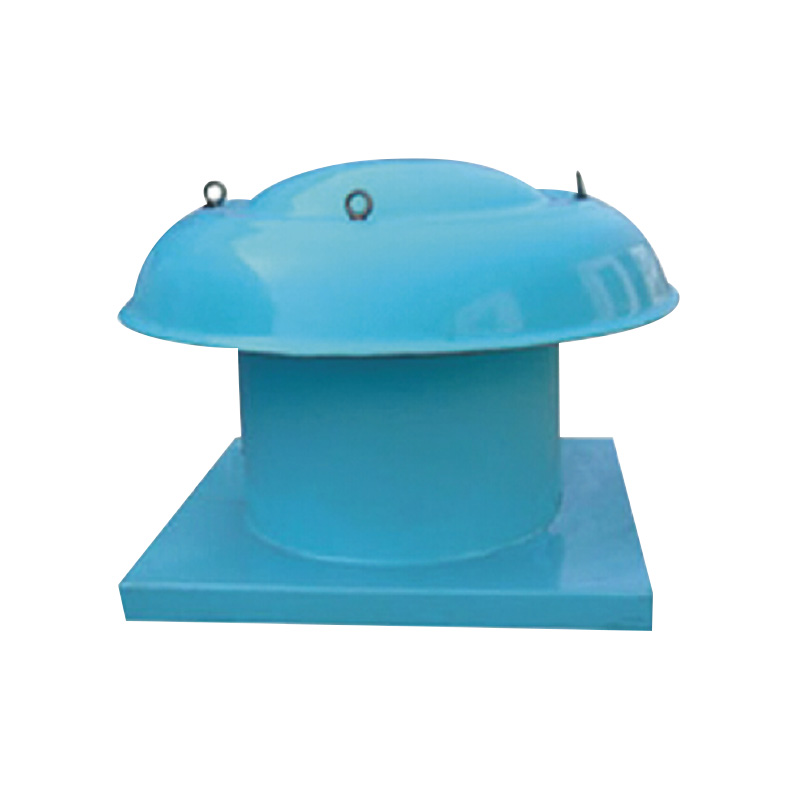
Replacing a roof mounted ventilator fan is a task that many facility managers and maintenance teams eventually face — whether due to wear, damage, or performance issues with Centrifugal Roof Ventilators. When the airflow slows, noise increases, or the fan simply fails to start, knowing how the replacement process works can save time and help you plan the job more effectively.
Why Replace the Ventilator Fan?
Many users report that the fan inside their roof ventilator becomes noisy, loses efficiency, or stops working after many years of service. Over time, bearings can wear out, impeller blades can become imbalanced, or motors may fail — all of which reduce ventilation performance and require a fan replacement rather than simple cleaning or minor repairs. A proper fan swap maintains proper airflow and reduces energy waste.
Safety Initial: Preparation Before Replacement
Before attempting any replacement work:
Disconnect Power: Always ensure the ventilator’s electrical supply is turned off at the breaker panel. Working on a live system can result in serious injury.
Plan for Roof Access: You will likely need secure ladder access or professional roof safety gear to reach the unit safely.
Check Weatherproofing Needs: Replacing a roof fan often requires resealing and weather-proofing the mounting area to prevent future leaks. Home improvement guides for similar roof vent replacement emphasize using roofing sealant along flashing edges to keep water out once installed.
Step-by-Step Approach to Fan Replacement
Below is a general overview of what the replacement sequence typically involves:
1. Remove the Ventilator Housing Cover
Begin by removing the top protective cover of the roof ventilator. This may involve loosening bolts or screws around the unit’s exterior. Some designs have a hinged cover that lifts for easier access.
2. Detach the Old Fan Assembly
Once the cover is off, locate the fan assembly inside the roof-mounted ventilator. This usually consists of the impeller fan, motor, and mounting bracket. Carefully unbolt the fan from its housing and disconnect the electrical wiring. Fans are often held in place by three or more mounting bolts. A DIY community discussion on replacing a roof vent suggests that in many roof fan designs, you can unbolt the fan motor and assembly and pull it out entirely once disconnected.
3. Inspect Surrounding Components
While the fan is removed, inspect nearby components like mounting brackets, dampers, and wiring. Look for any signs of corrosion, loose fasteners, or damage that could affect the performance of the new fan.
4. Install the New Fan
Position the new fan assembly into the ventilator housing and align the mounting holes. Secure it with appropriate bolts, then reconnect the electrical wiring according to the specific wiring diagram for your unit. Be sure to follow all electrical safety standards and local code requirements.
5. Reseal and Weatherproof
After the fan is securely mounted, it’s important to install a roof sealant or flashing around the ventilator base to prevent water intrusion. Spreading a bead of roof sealant beneath the new fan’s flashing and nailing it to the roof deck helps establish a tight seal against rain and moisture.
6. Test Operation
Once the unit is fully installed and sealed, restore power to the circuit and test the fan’s operation. Verify that it runs smoothly and without unusual noise, vibration, or electrical issues.
When to Involve Professionals
Replacing a roof mounted ventilator fan can be done as a DIY project by someone with electrical and roofing experience, but there are times when it’s better to hire professionals:
- When the ventilator is located on a steep or high roof
- When the electrical wiring is complex or hidden
- If you need to adjust ductwork or structural openings
- When local building codes require licensed electrical or roofing work
A roofing and ventilation professional can also ensure proper sealing and flashing to avoid leaks.
Practical Considerations and Costs
Merely replacing the fan motor is sometimes less cost-effective than swapping the entire fan assembly, depending on the age and condition of the ventilator. Costs will vary with the size and power of the fan, accessibility of your roof, and whether you hire labor for installation. Repair cost estimates for roof mounted fans take into account labor and parts — and can increase if major structural or wiring changes are needed.
Replacing a roof mounted ventilator fan, whether for Centrifugal Roof Ventilators or similar systems, involves careful preparation, safe access to the roof, proper disconnection of power, and correct installation of the new fan unit. This task can extend the life of your ventilation system and improve airflow throughout your facility. At Taizhou Haoba Electromechanical Co., Ltd., we emphasize both safety and performance in maintenance guidance — from fan replacement basics to ensuring effective weatherproofing after installation.
 English
 русский
 عربى
عربى